We have posted many articles on how to create performing welcome emails, promo, and effective event-triggered emails, showed how to use our “smart-elements” to create products’ cards easily and fast. Mostly, they all contain ideas and HTML email design tips to implement.
You stick to some recommendations given on our blog, or stick to your proven methods to turn subscribers into loyal customers with promo emails, yet some of these emails may look sort of “broken” because containers and social networks icons overlap each other. There are cases when containers are too far from one another or there is no space between text and email borders. And this all does not make your email look complete, either.
Some time ago and still now in many email builders, you are supposed to edit HTML code, save your email template to see if changes work fine for the email, and then edit again if needed. But now with Stripo, you may adjust paddings and set indents right in the settings panel and see changes immediately. No HTML skills required?
In this post, we are going to share some tricks on how to set indents, margins between content elements and paddings in emails with our editor.
1. How to adjust paddings in newsletter templates
By “paddings” we mean whitespace between the container/structure’s borderline and content element.
So, with Stripo, you can set paddings for:
a) for entire email templates
To do it, go to the Appearance Tab, choose the “general” item, and set paddings for entire newsletter templates.
These settings will be applied to each and every block, structure or container of your email.
As a default, we set “20” pixels for the top, the left and right sides, and “zero” for the bottom.
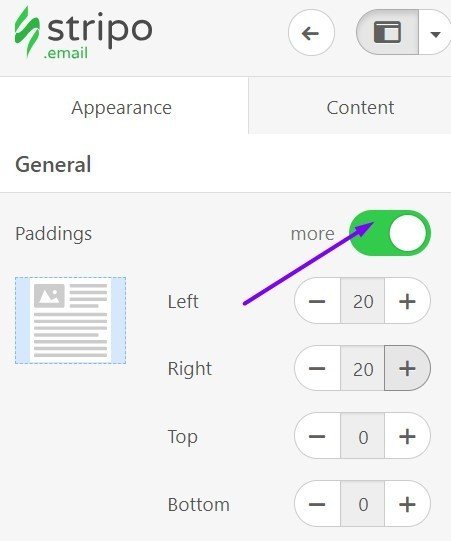
Here, you may set different paddings for the top, bottom, left and right sides — click the “more” button.

This example is to show that similar paddings set for an entire template are really applied to all containers within the email no matter what content they include, be it copy or photos, etc.
b) for each block individually
Yes, you may set specific paddings for each separate element, be it an image, a video, a call-to-action button or even copy with headings. Once you have pulled a content block in a template, click on it. And the settings panel will work for this particular block.
Note: settings for a block/structure have priority over the general settings.
Set an individual parameter for each side: “zero” for the bottom, “20” for the left side, “10” for the right side and “50” for the top, if that fits your email design.
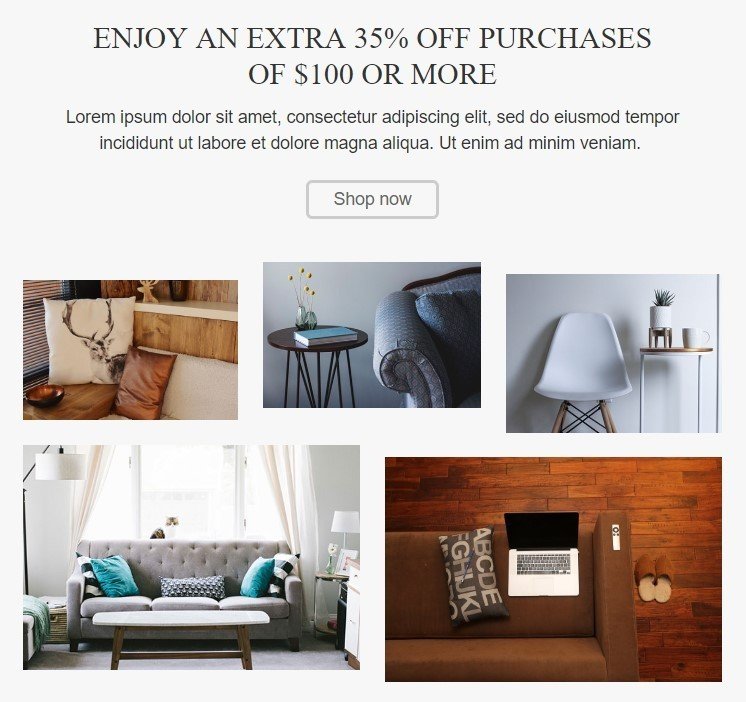
In the upper row, the middle image has paddings twice as many paddings as the general parameters for the entire template. By applying them, a designer wanted to create an effect of floating images and slight disorder to draw our attention to this piece of furniture.
How to turn the paddings off: You do not have to erase/remove all paddings for each side separately — cancel all paddings set either for a template or just a stripe by just switching off the “more” button.
2. How to set indents in newsletter templates
Paddings in emails provide us with whitespace between the content elements and a container’s borders.
Yet, inside the container, there might be several elements, and there is supposed to be some room between them, too. Otherwise, these elements may overcover each other.
a) setting general indents for structures/containers
Click the structure/container in your template, and on the settings panel you will see:
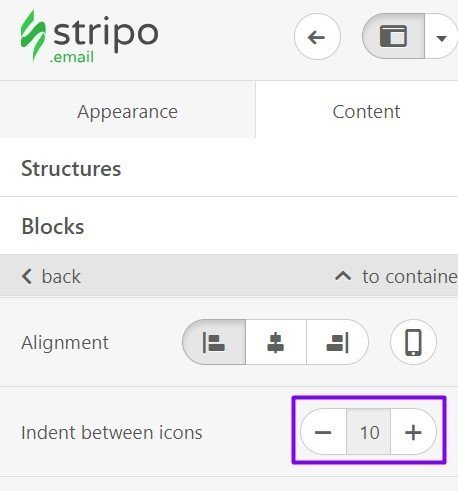
In a structure or a stripe, you might also need to set indents for containers.
Do it the same way, with the only difference: the editor will suggest setting indents between containers

b) setting individual indents within containers
HTML and CSS feature also allows applying individual parameters for every icon/container within a structure. This option may be required for menus, for example, with menu items of different lengths. If they are too patchy and copy lengths significantly vary, words can go to the second line as there’s a fixed size for every menu tab.
To avoid this, you need to open an email template HTML code and work only with “es-p0r” variable:
3. How to equalize containers
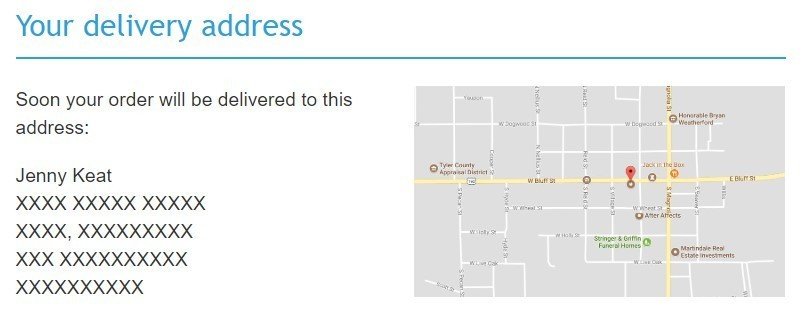
Stripo enables you to equalize cells, blocks and containers with a few simple clicks — no matter how many of are there.
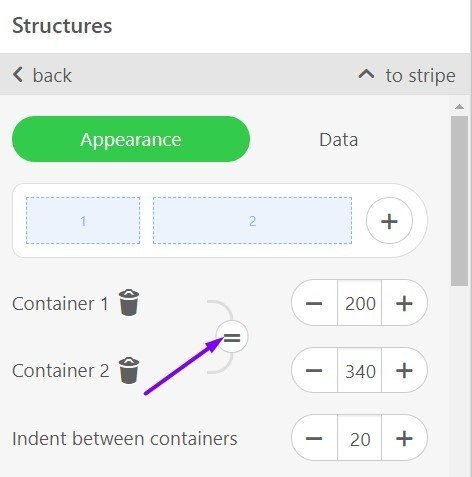
This is a very useful option when applying two different blocks in a stripe to make them look consistent and equal.
4. How to set spacing in HTML emails with Stripo
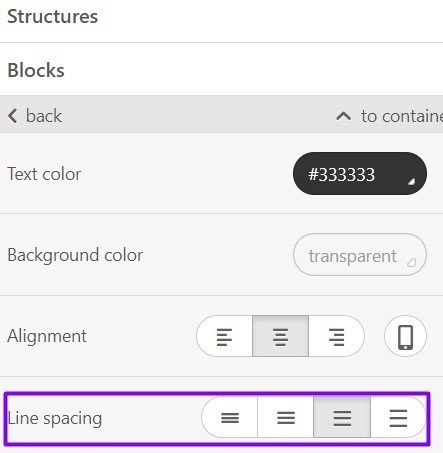
Line spacing plays an essential role in text readability, so do fonts.
Set spacing either for entire email or for an individual container.
There is one way to do it with Stripo — in the settings panel.
5. How to insert a spacer with Stripo, and its alternatives
Paddings and indents are not enough sometimes to visually separate or draw our attention to a desired email template block. For this purpose, we may use spacers.
Tesla, for example, puts them after an entire email to separate content and its value offer from the contact information.

With Stripo, it’s very easy to apply “spacers”. Just pull this basic block in the template. Set its width and thickness. Done!
Note: typically, spacers are presented by images. Due to this factor, you might not be able to stick to the image-to-text ratio. Stripo spacer presents a light HTML code. This means our dividers are just a symbol that does not overwhelm your email total weight. It helps to pass anti-spam filters.
But you may insert an image if you please. Just make sure to keep the ration within limits.
The Muse company always places images that look like spacers between menu and banners.

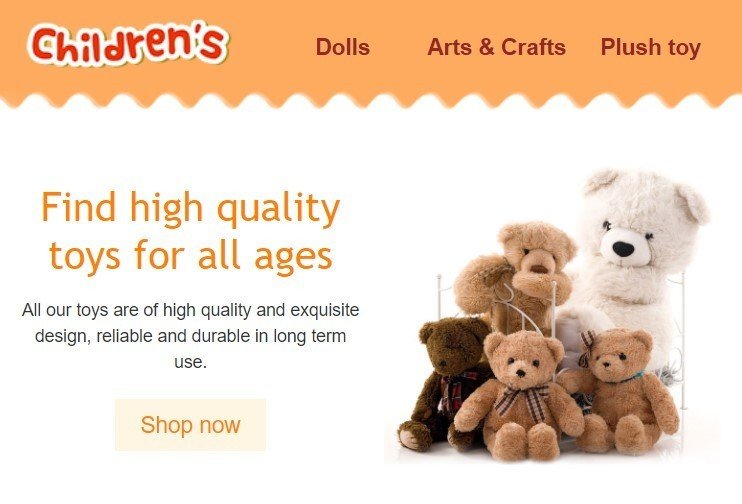
And the Children online store uses this fancy image-spacer to separate menu from the company’s value proposition.
6. How to set borders
More and more brands now come to this feature in email design. I presume it will be one of the trends for 2019.

Certainly, you may create such images with PhotoShop. But in this case, merge tags won’t work for newsletters, besides you will not be able to apply more than one link to this container.
But with Stripo, you may insert links to every single element in a container: button, image, price, text, etc.

This example includes: borders set all over the container, CTA button with a link, merge tags – which is why it mentions a name, – and just a road image and a logo.
Even if an email client will not display this image, a user will still see the button and merge tags.
Now, if you want to set borders around specific containers, you may click on the very container.
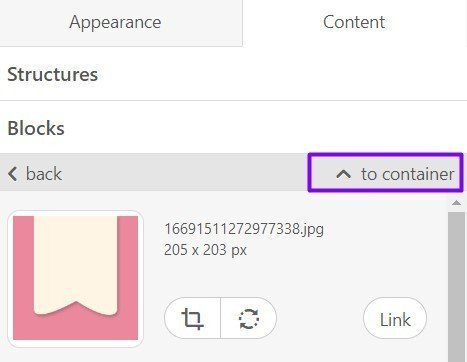
Note: Click on any element within a container. Then click “go to container” on the settings panel.
You will see “borders”. Once you have switched this button on, you will be able to set individual border thickness and color for container’s every side.
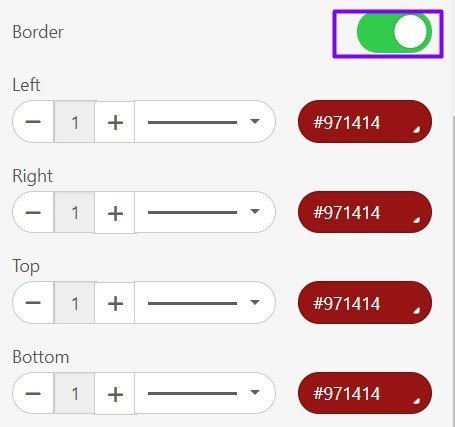
In case you do not click it, then you will set general border for entire stripe/container.
Borders may also make your emails look more structured.
If you want to apply borders for an entire email template, you will need to set it for all the stripes in it like we did on the example below:
- top, left and right for header and menu;
- left and right sides for all other stripes;
- bottom, left and right for the stripe with a footer.
Make sure to set a single color and border thickness for entire email. Once everything is done properly, your email will look like it is framed.
Once everything is done properly, your email will look like it is framed.
7. How to preview emails
There are two ways to test your emails with Stripo:
a) email preview.
This magic button will show you the way your email is about to look on mobiles and desktop screens;

b) sending test emails.
This is a pretty new feature for our editor. From now on, it enables you to send test emails to the chosen email address.
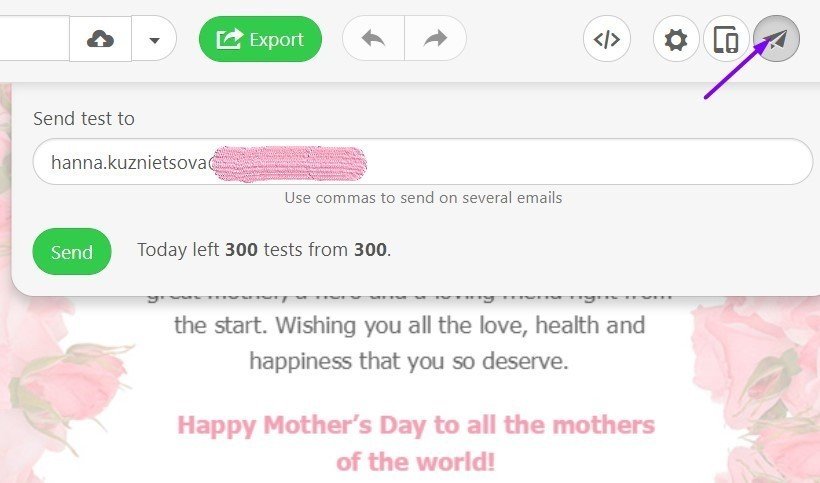
The quantity of test emails per day varies and depends on the subscription plan.
I sincerely hope that these tips and tricks for layout manipulation are useful for you and are about to save you a high amount of time.




0 comments