This March, we released "Brand Guidelines" which was a totally new feature to help: a) you build brand consistent newsletters regardless of what agency or email designer you hire for building your future campaigns; b) designers easily get used to rules and requirements for emails of any brand and will build those emails in no time; c) make onboarding of new teammates go easier and faster.
This Summer, it's been updated and we want to show you what it is now and how to generate the Brand Guidelines kit for any project of yours within just a minute totally for free.
Watch our short video

Below, you will find more details on what the Brand Guidelines kit is. And how to generate one for your projects.
The content of this Brand Guidelines kit:
-
detailed brand guidelines — here we compile all the information about your templates design. It provides you and your teammates with the fonts that your brand used in its previous emails, paddings within containers, indents between containers, font and background colors, the CTA buttons design, the design of social media icons, etc.;
-
PDF files of the chosen templates of yours — so that you and your colleagues get a big picture of what your campaigns should look like;
-
content modules — you preview them and copy HTML code of necessary ones;
-
images that you used for your campaigns;
-
brand assets — like logo/set of logos, favicon;
-
contact information like links to social media profiles, your website addresses, etc.
In other words, you get everything you need for your future email campaigns in one place.
Benefits of using our Brand Guidelines feature
It will serve as a Statute for all the coders, designers, and email marketers who work on emails.
-
Brand Guidelines is a very useful option for those teams where there’s more than one person involved in email building.
-
You are now free to use any Agency or any email coder to work with — it will not affect the design of your campaigns. You just share with them the files from your Brand Guidelines kit — and they use the right styles.
-
Building emails will become even less time-consuming because all your brand assets are always at hand.
-
Onboarding of new team members who deal with emails will go faster, with fewer mistakes they commit when building their first emails for you.
How do you generate Brand Guidelines for your projects?
This is a very simple process, actually.
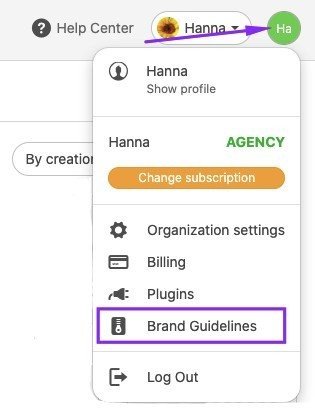
To start working on your Brand Guidelines kit, click your profile icon in the upper right corner, then enter the Brand Guidelines tab.
Step 1. Creating the Brand Guidelines kit
Please enter the "+New Brand Guidelines kit" tab to build a Brand Guidelines kit for any of your projects.

Here you need to:
-
enter your company name;
-
in the dropdown menu, select a necessary project if you have many;

-
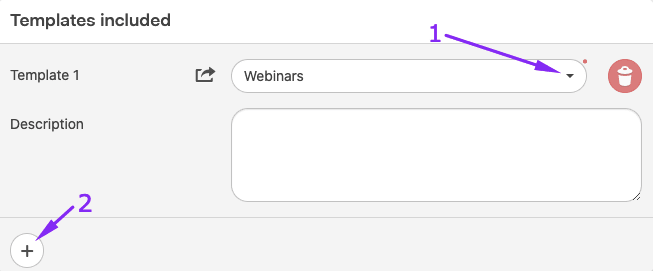
now please in the dropdown menu, pick necessary templates for the Brand Guidelines;
-
if you need more than 1 template, click the "+" icon to add as many templates as you need;
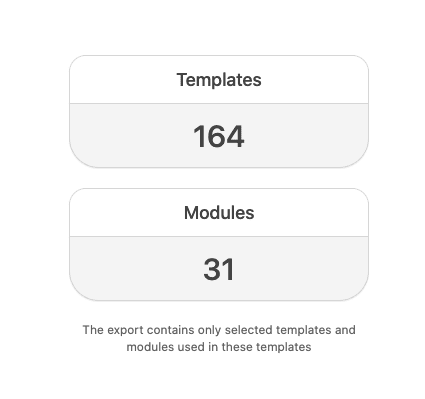
- on the right, our system shows how many templates there are in the chosen project of yours. Here you can also see the number of modules that you or your teammates have previously saved to your personal Modules library for this particular project;
-
now in the Appearance section, you need to choose the color for the Guideline.pdf document — by setting the «Primary color» — the color that would be set as the document background and will be applied to all buttons across this document. Of course, I set green;

-
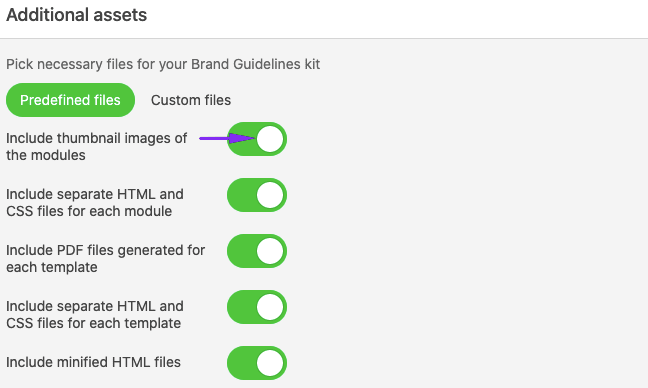
now in the Additional Assets section, you choose what files to include in your kit by just toggling them;
- now in the very same section, you may include screenshots of the tests taken with Email on Acid:

Where "Update results" means our system will run new tests if you have previously run any, and "Include recent results" means our system will retrieve the most recent results of the test you have previously run, but will not take a new test. If you have run no tests previously, be sure to do that with our email testing tool right in Stripo before choosing the "Update results" or "Include recent results" options.
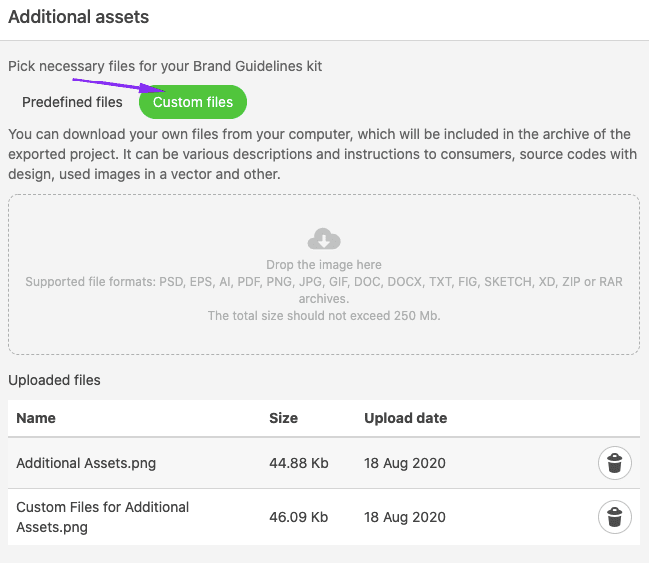
- if you want to add your own files to the Brand Guidelines kits, like another logo, more images, or anything else, click the "Custom files" tab in the Additional Assets section;
- upload your files;
- below you will see the list of your custom files. You can remove the unnecessary ones;
Important to note:
Your Brand Guidelines kit will contain both Predefined, aka standard, and custom files.
-
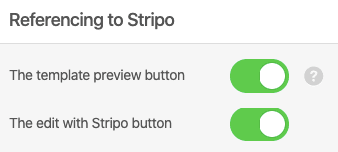
here, you also need to decide whether you want those who will have access to the Guidelines.pdf, named "Brand Guidelines" to be able to view your email templates on the web and enable them to enter the editor to start working on new emails right from the Guidelines file. If yes, toggle respective buttons at the bottom of the New Brand Guidelines kit tab in the Referencing to Stripo section:
- in the top section, named "General information" click the "Generate" button to build this kit of yours.

Step 2. Adding contact information to your Brand Guidelines kit
Now please go to the Brand Guidelines Settings tab.

Here you will be asked to:
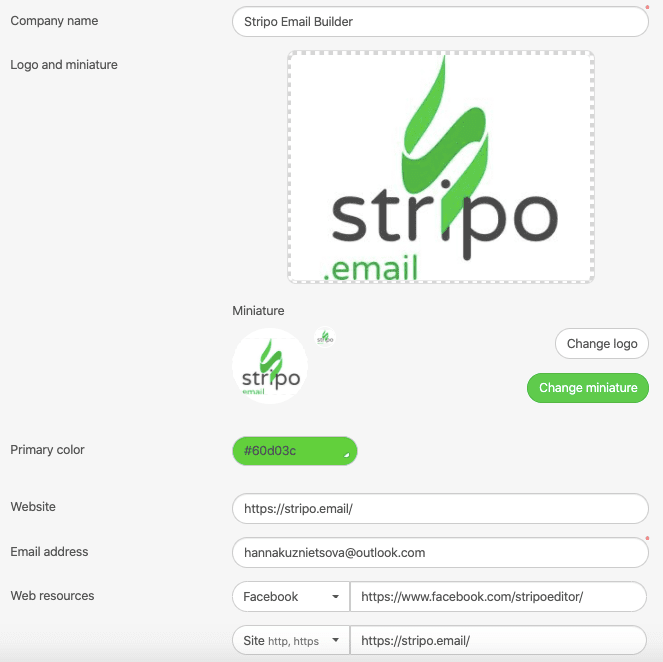
- enter your company name;
- upload logo;
- specify your contact information, including links to social media profiles;
- to add an extra piece of contact information, please click the «Plus» icon, then click the arrow to choose the type of the link in the dropdown list.
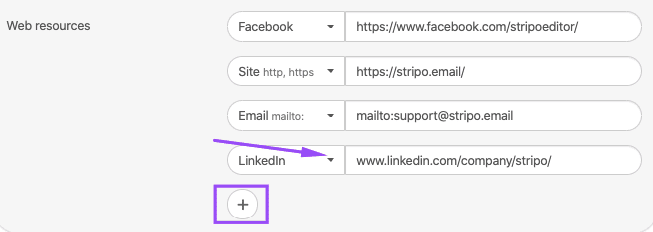
This information will be applied to all Brand Guidelines kits of yours within the same project.
Step 3. Downloading your Brand Guidelines kit
To get your kit, you need to go back to the "+ New Brand Guidelines kit" tab and click the "Download Brand Guidelines kit".
Please be advised that prior to doing your kit, you can preview it.

If you ever do any changes to your kits, you need to "Refresh" your it.

In the Brand Guidelines tab, you can see the list of the kits that you've generated. You can see the dates they were created. You can see the dates they were altered. You can see the project they belong to. You can preview and download them all.

What you get in your Brand Guidelines archive
Here’s the contents of the Brand Guidelines kit I’ve just generated for Stripo:

Folder 1. Assets
It contains your favicon.
It also contains your custom files with fonts, additional logos, and other design elements that you've uploaded in the "Additional assets" section.
Folder 2. Guidelines.pdf
This file goes with the table of contents on page 4.
In this document, we enumerate all the design styles that you used in the chosen template. They are divided into sections for your convenience: headings, headers, buttons, info area, mobile view styles, etc.
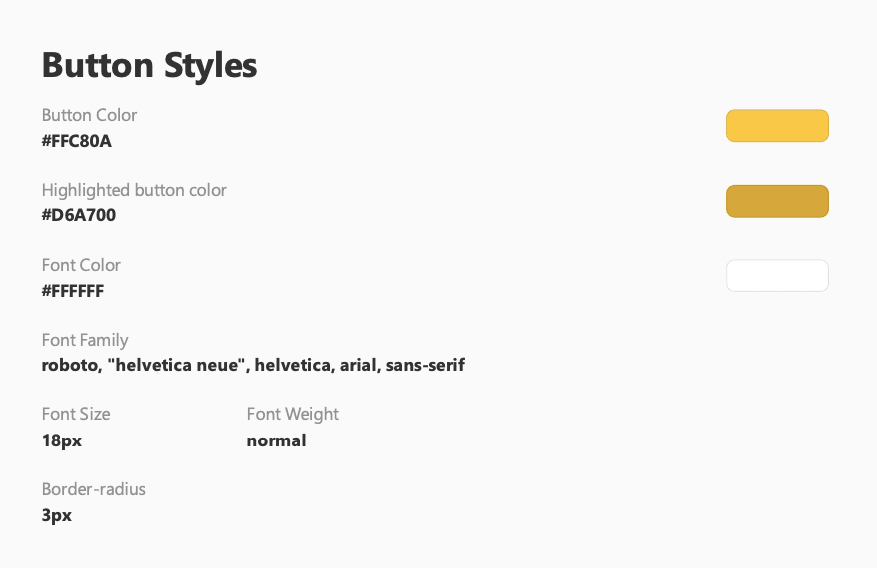
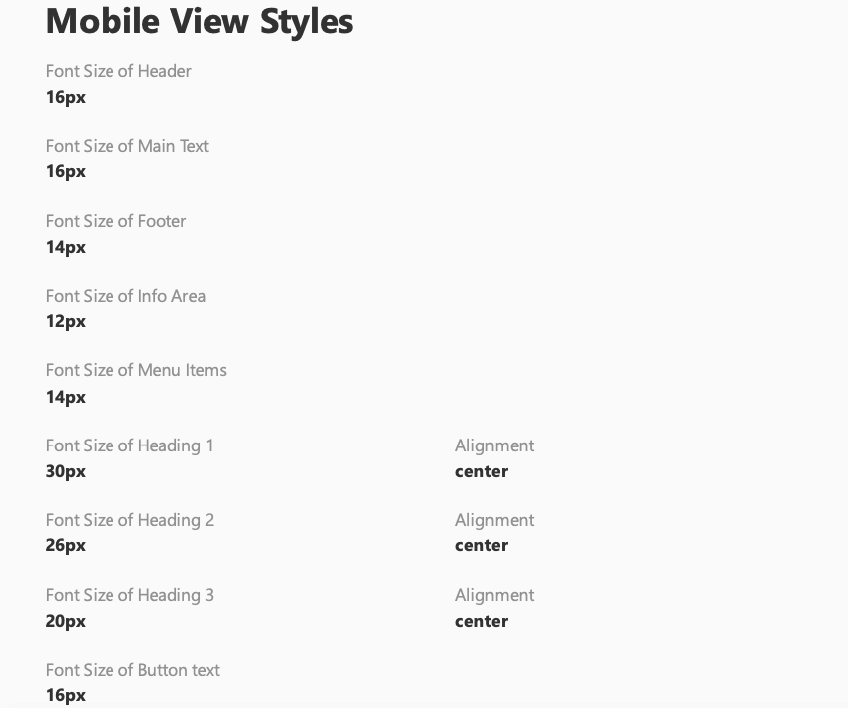
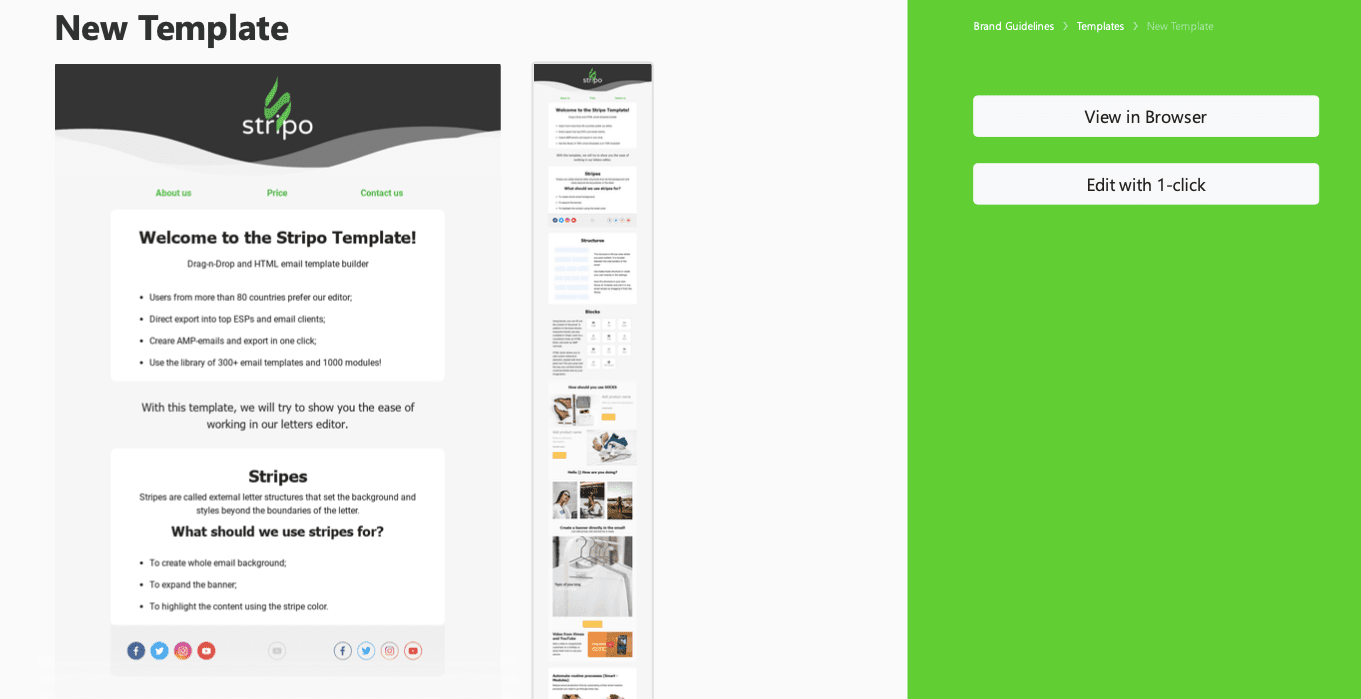
In the Template section of your Guidelines file, you can preview your template or even go to the editor to start working on a new template or edit this one, of course, if you have enabled these options in the «Referencing to Stripo» page when working on the Guideline appearance.
In the Modules area, you see the list of all the modules that have been downloaded with this archive.
And the file ends with your contact information. In case any person at any time needs your help or clarification, he or she will know how to reach out to you.
Folder 3. Modules
All the content modules that have been downloaded with your Brand Guidelines kit are divided into several folders — a folder for each module. They are named respectively.
Each folder contains:
-
a preview image of the module;
-
folder with all the images used in this particular module;
-
separate files with the CSS and HTML codes of a respective module;
-
file with the CSS inlined into the HTML code — you can use any.
The Modules folder also contains the Modules.html file — it contains snippets of all modules and their codes.
You just select a necessary module from the list, and our system shows the HTML code and HTML with the inlined CSS code of this particular module.
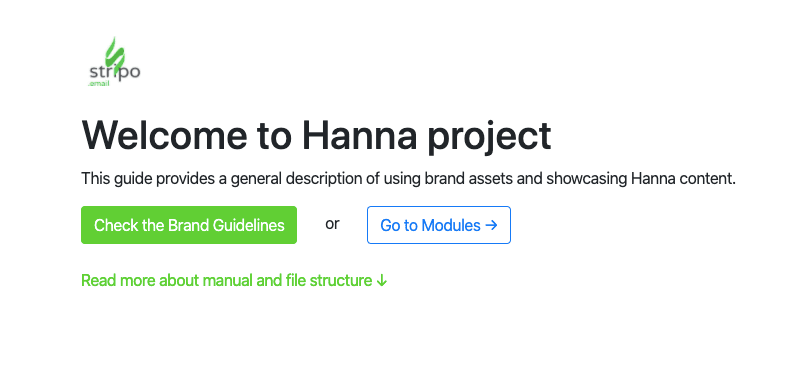
Folder 4. Start.html
This file lets you go to the Guideline.pdf or directly to modules.
It also contains your contact information.
Folder 5. Templates
Just like the Modules folder, this one provides you with:
-
the folder with all the images you used in your template;
-
separate files with the CSS and HTML codes of a respective module;
-
file with the CSS inlined into the HTML code — you can use any;
-
PDF file of this particular template;
-
and a folder with the screenshot tests that you've run (if you run any).
Final thoughts
With our brand new Brand Guidelines option:
-
You help all future designers build brand consistent emails for your campaigns — as now they have a detailed guideline and previously built email elements for reference.
-
All the images, contact information, elements’ codes, and other brand assets are always at hand.
-
You get template guidelines generated precisely for your brand, with all the little details taken into account and it saves time on email building.
We are proud to say that before our Brand Guidelines option, it would take you dozens of hours to create these files with all the guidelines, codes of elements, and some brand assets.
Now it will take you just a minute!
Help your designers build flawless emails faster with our Brand Guidelines.
We will be happy to demonstrate to you the Brand Guidelines in action and share the examples of our guidelines.
Email us at contact@stripo.email or leave a comment below — and we’ll show you everything.




0 comments