In March 2019, Google released AMP for emails. Since July 2019, it is available for G-Suite users and is “on” by default for all Gmail users.
AMP enables recipients to add necessary items to carts, take surveys, etc. And of course, all these actions can now be taken directly in emails.
Reducing the time that you spend on email production by automating most processes has always been Stripo’s main goal.
This is why we developed our AMP email builder and the “AMP-carousel” drag-and-drop block to speed up the design process.

Prior to getting to the guide, I want to highlight the benefits of building AMP emails with Stripo.
Why build AMP emails with Stripo:
-
You do not need to add any AMPHTML code elements to the email header.
-
No coding skills are required — you can benefit from ready-to-use elements.
-
Time-saving — you simply insert the links to your images into a content module.
-
You can set links for every single image in your AMP-carousel that you build with Stripo. These links will take recipients to respective pages on your website.
Guide on how to build an AMP-carousel with Stripo:
It takes two steps to build an image AMP-carousel with Stripo:
Step 1. Building the AMP carousel per se
-
drag the AMP carousel block in the HTML email template you are working with;
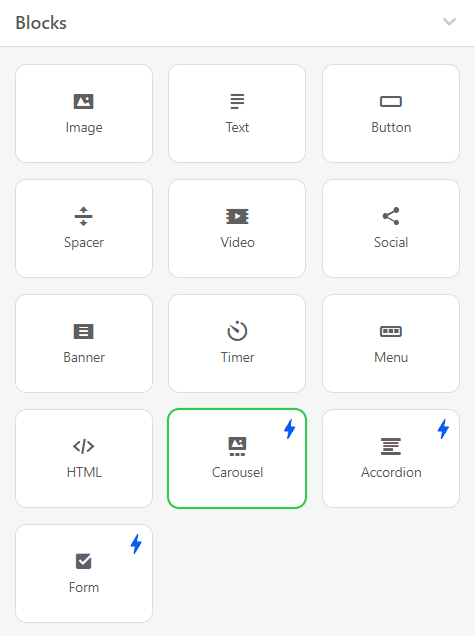
You will see this element have the “⚡HTML” icon near it. This means, this element will be shown in AMP emails only and will be hidden in email clients that do not support AMP. We will need to build a fallback for other recipients. We'll talk about it later.

-
click on the “⚡ HTML” icon to activate the settings panel;
-
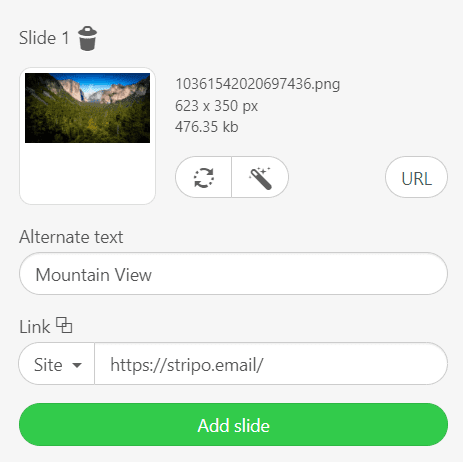
upload image 1 for your slide;
-
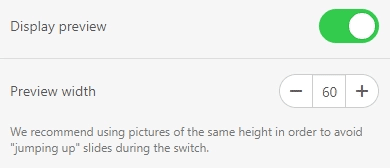
now, in the settings panel, you need to toggle the “Display preview” button if you want to show little preview images;
-
set the width for these preview images;
-
enter ALT text;
-
paste a link to the respective product item;
-
hit the “Add slide” button;

-
do the same to other images;
-
check if the sizes of all images match. If they do not, crop them with our photo editor;
-
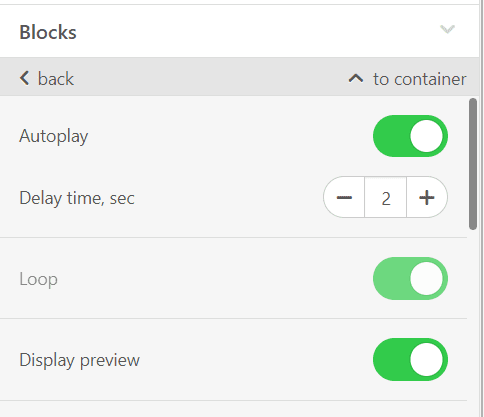
toggle the “Autoplay” button if you want your slides to change automatically;
-
toggle the “Loop” button to make your slides display from the beginning when a user clicks on the last image;
-
find the “Slide preview” section and choose where it will be displayed;

-
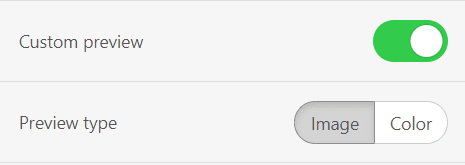
toggle the “Custom preview” button to select your preview type (image or color);
-
toggle the “General link” button to add a single link to the entire AMP-carousel;
-
done!
Important to note:
I added 16 slides, and they all worked pretty well in Gmail across multiple devices.
Step 2. Building a fallback for other recipients
So, now that all recipients who use Gmail will see this carousel, we need to think about those who prefer other email clients.
The AMP-carousel we've just built works well on desktops in Gmail by default.
Now it’s time to build a fallback for others.
In this case, there are two types of fallback:
Type 1. Interactive carousel
Such a carousel is supported by Apple devices only, and by Yahoo! Mail.
-
build a regular content carousel with FreshInbox;
-
copy the embed code;
-
drag the HTML block into your email template;
-
double click it to activate the code editor;
-
in the code editor, paste the code;
-
close the code editor;

-
click on this module right in the template to activate the settings panel;
-
in the settings panel, please find the "Include in" line and select the "HTML" option. By doing this, you make sure that this content module will be shown only in those email clients, which do not support AMP for emails.
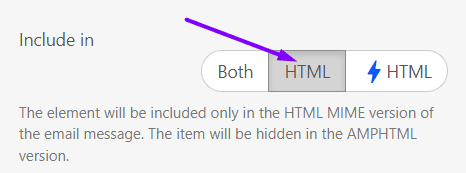
This means that every email client decides which version of your carousel to show!
Important to note:
If a recipient's email client does not support this kind of interactivity, they will see just the first image.
For more information on how to build an interactive image carousel, please read this blog post.
Type 2. Static product content modules
-
drag a 2-column structure in your email template;
-
drop the image block into the 1st column;
-
upload a necessary image;
-
drop the text block into the 2nd column;
-
wrap this text in a matching font.
- in the settings panel please find the "Include in" section and select the "HTML" option. Like we said, by doing this, you make sure that this content module will be shown only in those email clients, which do not support AMP for emails.

You may add as many product modules to your email as you need. For more information on how to save time when building similar email elements, please read this blog post, the "Copying and moving elements" section.
Important to note:
Once you hit the "Include in HTML" option, the chosen element will be shown across those email clients, which support only traditional HTML-mime type.
Once you hit the "Include in AMPHTML" option (⚡HTML), the chosen element will be shown across those email clients which support the AMPHTML (text-x-amphtml) MIME-type.
If none is set for a particular email element, this element will be shown across all devices and all email clients.
By taking these simple steps, we built a simple AMP-carousel — we used images with no descriptions on them. It works best when you demonstrate a few items of a kind or the same product from different angles.
But what if you need a complex carousel with more informative pictures and “faux” buttons over them? You can still do it with Stripo as our editor allows adding text over images and applying multiple filters ;).
Building an AMP-carousel with a description and “buttons” over images
So, first of all, you need to build a regular AMP-carousel as described in the paragraph above. Now, let's proceed to the design of the slides:
a) writing copy over images
-
once you uploaded an image, open the photo editor;
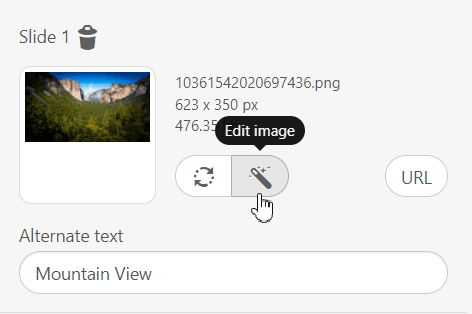
-
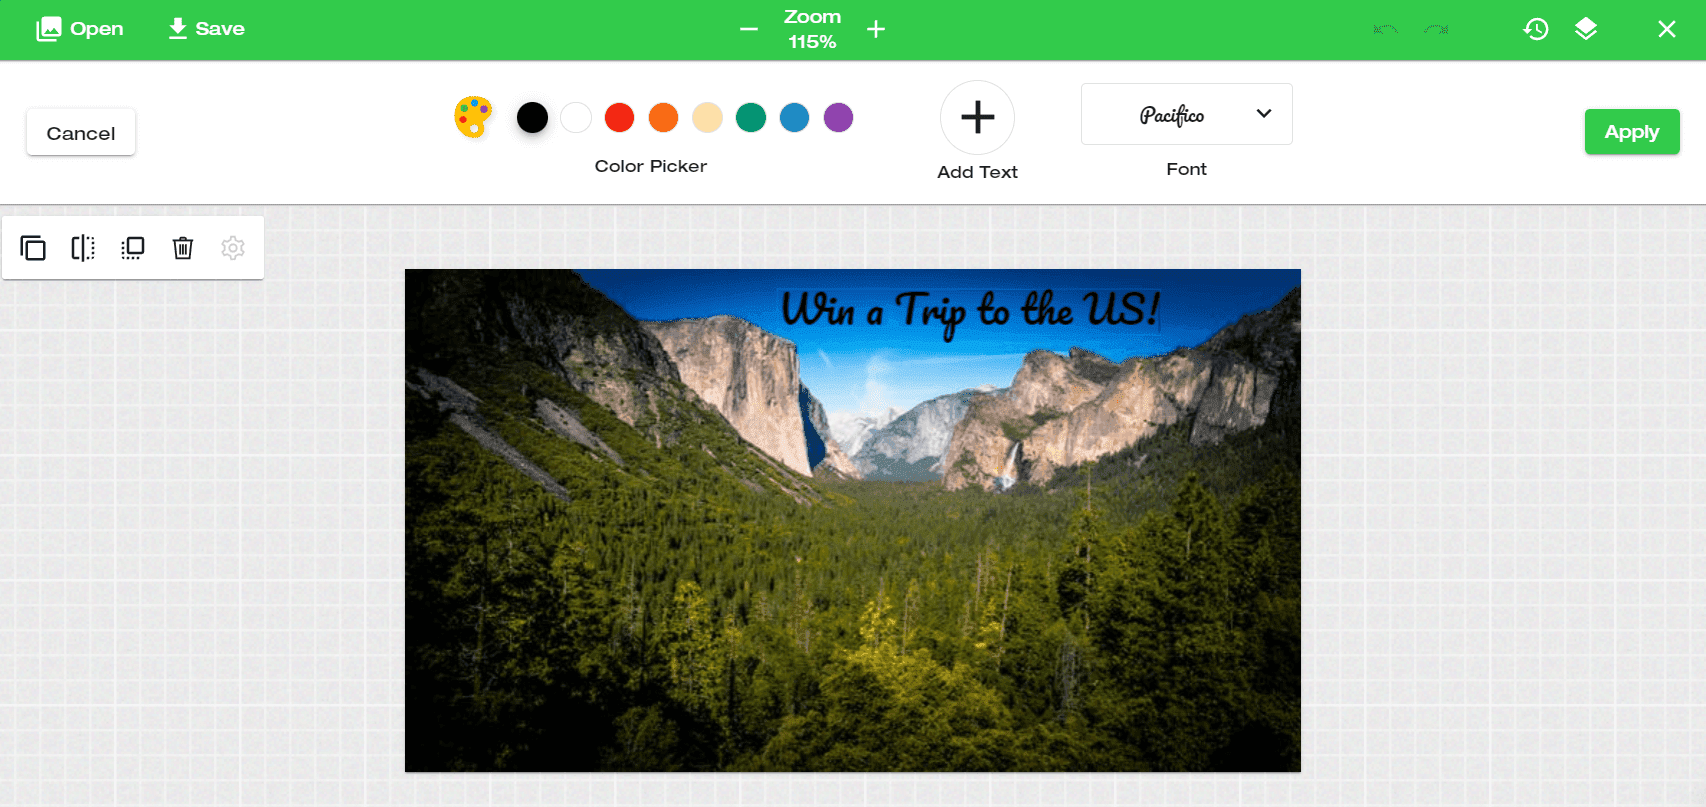
in the settings panel of the photo editor, choose the “Text” option to place copy over your images. The editor offers about 1000 fonts;
-
choose the font type and the color;
-
in the right top corner of the editor, click the “Apply” button to save these parameters.
b) placing a CTA “button” over your images
-
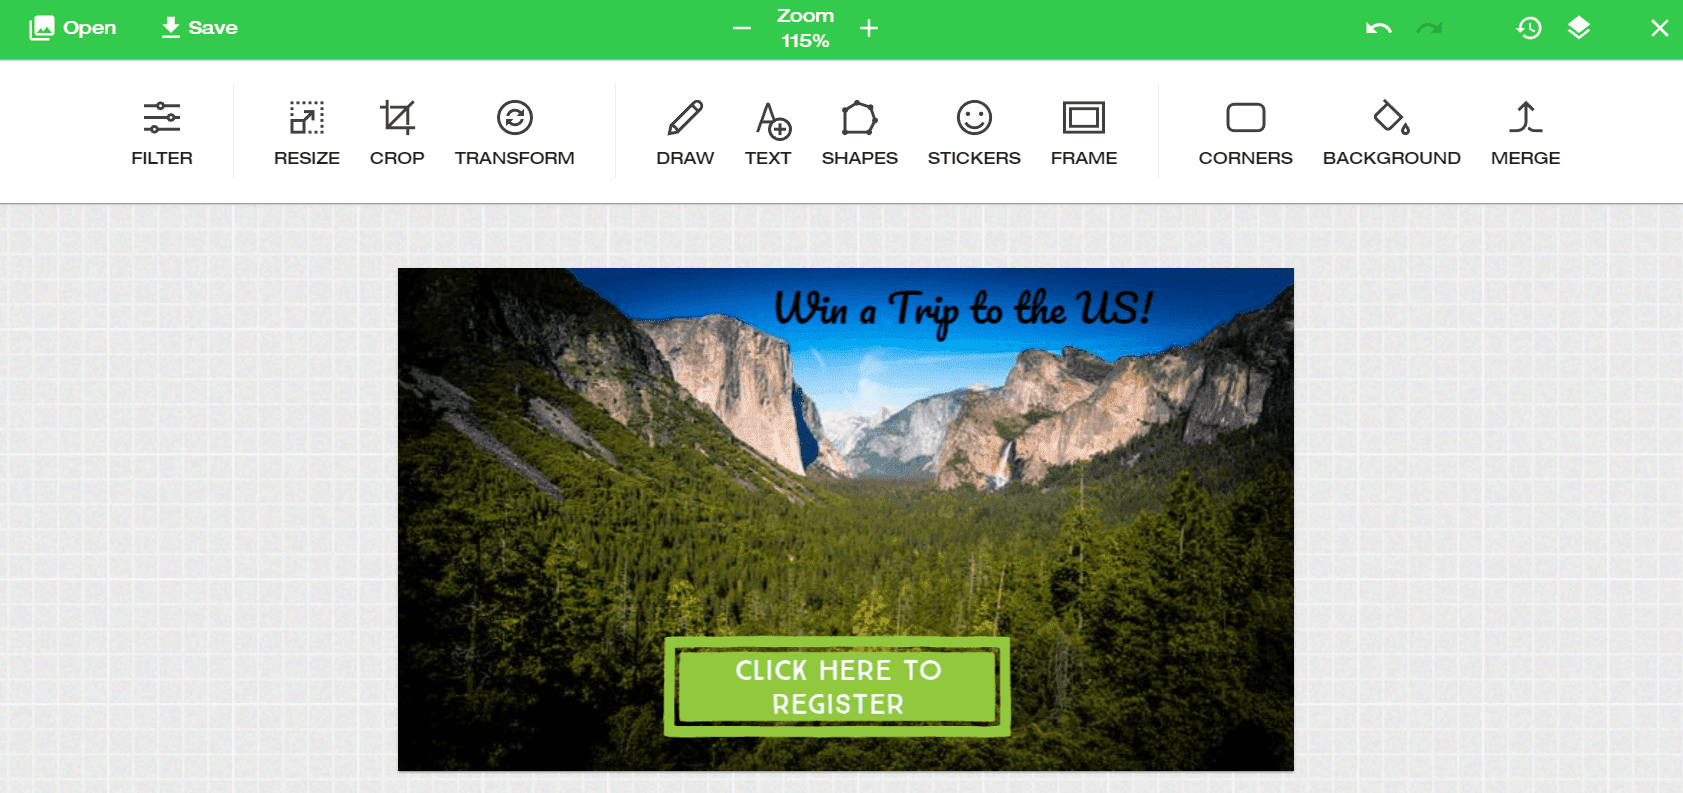
first of all, you need to prepare this button — the image format should be SVG or any other with a transparent background;
-
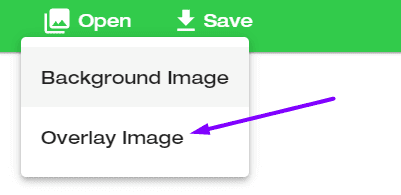
in the left top corner of the settings panel, click the “Open” button;
-
select the “Overlay image” option;
-
upload your button image;
-
place it exactly where you want to see it in your slide;
-
set sizes;
-
click the “Save” button to save the changes you have done to the slide.

So, here is what we’ve just built together:
Word of advice
Here's just a friendly reminder. To be able to send AMP content, you need to:
-
fix all the bugs if any occur. You will see them in the Preview mode (otherwise users will see an HTML email);
-
add the fallback — HTML version — to this email;
-
make sure that your ESP/CRM is capable of sending AMP emails;
-
keep in mind that currently only Gmail (both web and mobile apps on all OSs) and Yahoo! Mail are capable of rendering AMP emails;
-
AMP emails lose their AMP components if you forward them.
The best email carousel examples for your inspiration
Now that you understand how to build AMP-powered carousels within minutes, let’s take a look at how popular companies benefit from this feature.
Here are the top 5 carousel examples to fuel your creative ideas:
1. Stripo
We often add carousels to our weekly digest to make it more functional and attention-grabbing. In this example, we enabled subscribers to browse through new email templates to find the most suitable one.
(Source: Email from Stripo)
2. Breguet
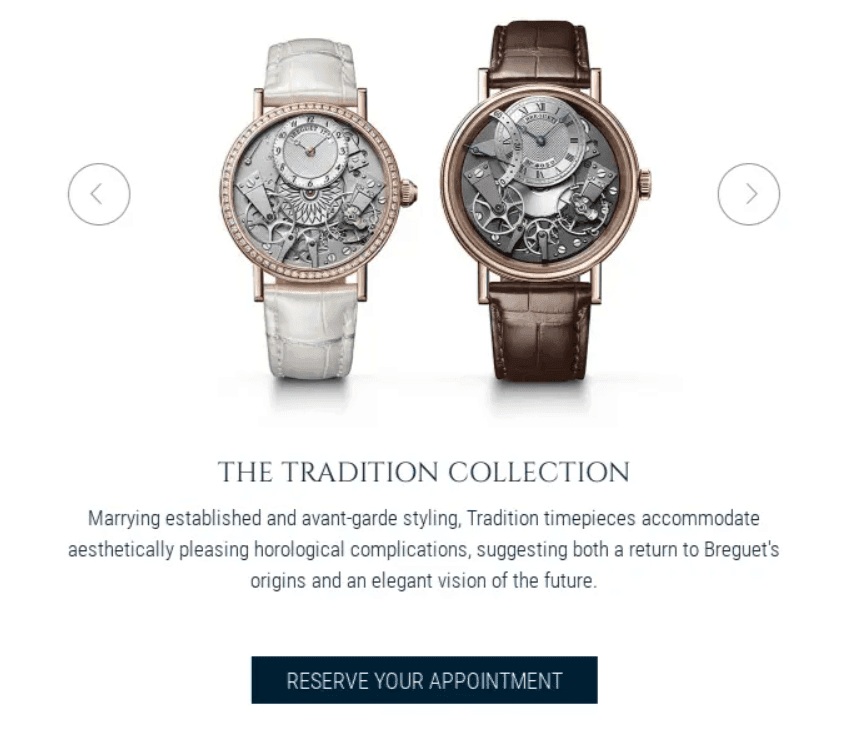
In this example, the company used a carousel to showcase to subscribers their products and offer recipients to book an appointment without having to leave their inboxes.
(Source: Email from Breguet)
3. MamaGourmand
MamaGourmand used the AWeber Image Carousel to share recipe ideas with subscribers. It’s an excellent way to engage recipients and show a variety of your products or services.
(Source: Email from MamaGourmand)
4. Offset
Besides offering subscribers to buy your products, you can use carousels to create entertaining content. In the example below, you can see how a popular imagery resource designed the email with a carousel to show their subscribers a collection of beautiful photos.
(Source: Email from Offset)
5. HP
HP added a carousel to their email to present a new computer and showcase it from different angles. It’s a fantastic way to provide customers with more details, but it’s vital to make sure that product photos are clear and well-lit.
In this example, the carousel is made with HTML5, but you can build the same using AMP.
(Source: Email from HP)
Wrapping up
We just built 2 AMP-carousels to enable you to showcase your goods from different angles or demonstrate new products from your collection. Each slide takes recipients to respective pages of your website. This is a good way to enliven your emails, engage the target audience, and make messages more functional.
To find out how to preview and export your AMP emails, please read the respective paragraphs in our blog post.
Building AMP-powered emails can be a piece of cake if you use the Stripo AMP email builder ;).


2 comments