Email marketing is the best channel for communication with customers if used properly. So, the question is how to make a newsletter effective enough to contribute to business growth?
Take 10 simple steps. Our prepared email templates will make email marketing even easier for you.
Step 1. Building contact base — tips and tricks
The first thing you need to do when making your own newsletter is to collect a contact base. There are many ways to do it. But only some of them comply with the GDPR and CanSPAM rules and bring you the contacts that are really interested in hearing from you:
-
Registration forms
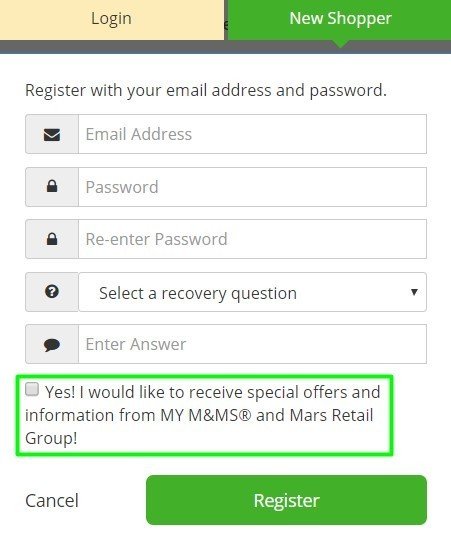
When a person gets registered with your website and shares some personal data including email address, ask him or her for permission to send newsletters. Leave the checkboxes with “Privacy Policy” and “I give my consent” empty — let newcomers tick them on their own;
-
Subscription forms
Place a subscription form on your website. Normally, you may find one at the bottom of the page;

-
Pop-up notifications
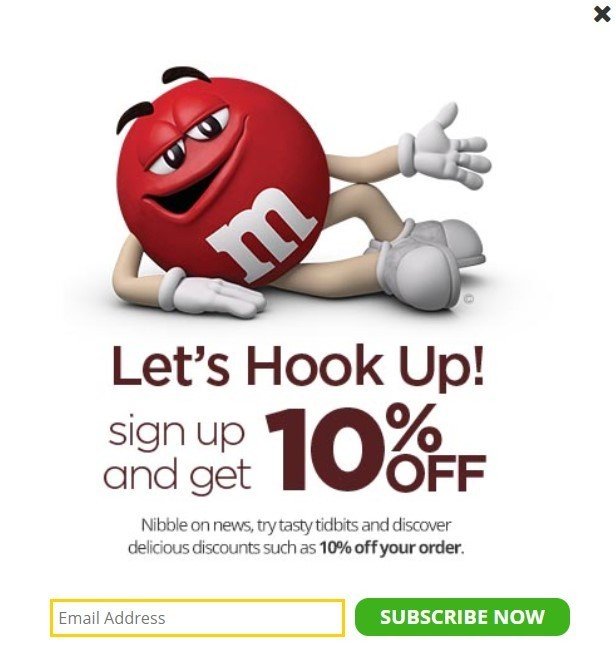
It’s up to you when to show these pop-ups to visitors — after he or she spent just 10 seconds – two minutes, or just after the person got to your website;
-
Collecting contacts from social networking channels
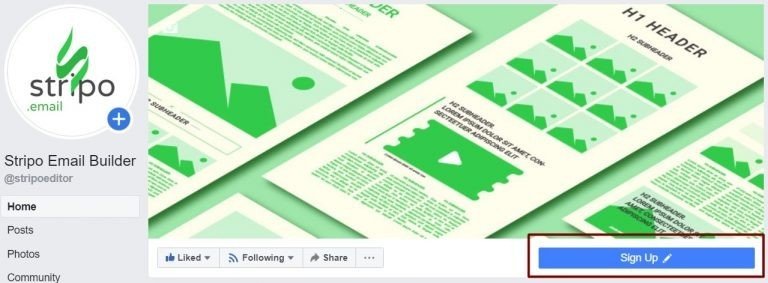
Facebook, for instance, suggests you add a “Subscribe” button under the cover image. Make sure to add a link to the subscription page;
-
Collecting contacts offline
Once a purchase has been committed in one of your offline stores, ask the shopper to fill out a registration form where he or she shares the contact information, name and date of birth for special offers.
Note: remember to not only get an email address, but to get a “consent” from subscribers to receive your newsletters.
Step 2. Choosing the right ESP
You need to find an email marketing automation system that suits your needs.
General criteria to stick to, when choosing the ESP, depend on the type of business you run:
-
Small businesses
Small businesses and startups’ decisions are quite often based on the financial component. Their campaigns do not require complicated scenarios — simple ones will do.
Criteria to stick to when choosing ESP for small businesses:
- Reasonable prices;
- Simple scenarios;
- Regular segmentation;
- Shared IP addresses;
- Ability to use shared domains;
- Tracking customers on social media channels (not the entire web);
- Reports on the campaign’s results.
-
Ecommerce
Criteria to stick to when choosing ESP for eCommerce:
- Ability to create complex scenarios;
- Ability to transfer dynamic content;
- Advanced segmentation;
- Dedicated IP addresses and domains;
- Omnichannel to reach out to customers via emails, messengers, and web notifications;
- Dynamic contact groups;
- Language personalization;
- Smartsend time;
- Detailed reports based on AI tests.
-
Enterprises
Criteria to stick to when choosing ESP for enterprises:
- Ability to build campaigns automatically without the IT department;
- Multiple sources data for making a detailed portrait of a customer;
- Ability to set various criteria to nurture and categorize customers for implementing advanced personalization and hyper-personalization;
- Dedicated IP addresses and corporate domain;
- CRM to better communicate with customers;
- Personalized customer journeys;
- Omnichannel system to reach out to clients whenever and wherever.
Here’s the list of the world’s top ESPs that Stripo is integrated with (in alphabetical order):
- AWeber — email marketing and automation service;
- Braze — an engagement platform for communication with customers;
- Campaign Monitor — email marketing and eCommerce automation;
- Constant Contact — email marketing software;
- eSputnik — marketing automation system for B2C;
- HubSpot — inbound marketing, sales, and service software;
- IBM — marketing automation software;
- Mailchimp — all-in-one marketing platform;
- Mailgun — transactional email API service;
- Mandrill — transactional email platform;
- Marketo — marketing automation software;
- Oracle Cloud — email delivery service;
- Salesforce Marketing Cloud — digital marketing automation and analytics software;
- SendGrid — customer communication platform for transactional and marketing email;
- SendPulse — marketing automation and bulk email service.
In this post, you’ll find more details on some email marketing automation systems.
Note: you will need the direct export option when sending a created email template to the ESP you normally use.
Step 3. Setting goals for campaigns
When you are finally ready to start an email newsletter, you need to set the goal for the entire campaign. Because all content elements, including email design, and copy do depend on the goals. We want to emphasize that email marketing is not only about promo, it is also about transactional emails that show the highest open rate.
For instance, those can be:
- Increase sales;
- Drive more traffic to your social networking pages;
- Win customers back;
- Share your company news;
- Promote new features/apparel;
- Notify about upcoming events;
- Update customers on orders;
- Invite to events like webinars and conferences.
Step 4. Writing subject lines
47% of recipients make their minds up whether to open an email, judging by the subject line. Make them compelling, intriguing, clear and concise.

The cardinal rule is subject line reflects the email content.
Email pre-header is visible in Inbox. It goes after the “-” (dash) in the email preview. Perfect, if it continues the email subject line. Some brands make stories this way, others notify recipients there will be a coupon inside the email or share other important news.

Step 5. Email production process
To design a newsletter that will be effective email, take the following steps:
-
Finding the right HTML email template
You can either build an email template on your own by using any modern email editor, or order it from a professional designer, or code on your own if you have enough skills.
Though, the easiest way is to choose one from our library which contains more than 600 prepared HTML email templates.
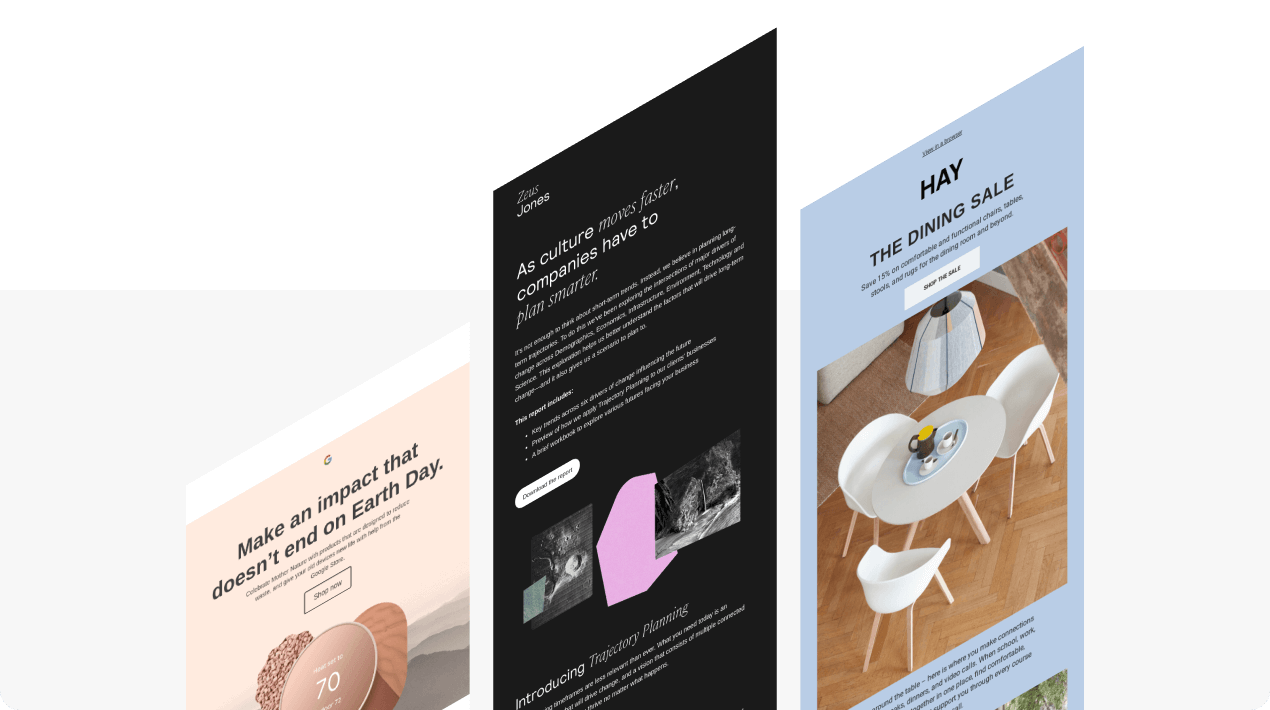
When building, ordering, or creating a newsletter template, make sure it’s fully responsive, editable, can be added to the ESP you use (email marketing automation system).
-
Staying brand consistent
Edit the HTML email template so that it complies with your brand design. Normally, the brand book is of great help here as it says what colors, what fonts, what indents and paddings to use, specifies logo position, etc. But if you don’t have any yet, to use proper colors in templates, try any online application that detects colors of an image you inserted and detects fonts used on your website.
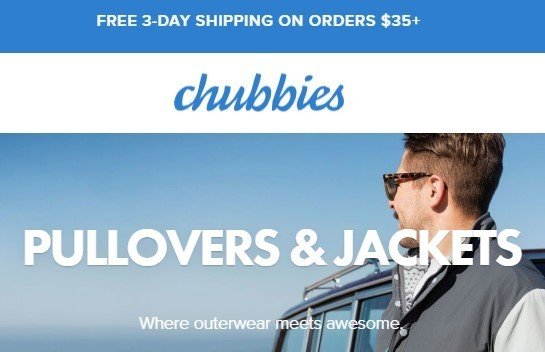
(Chubbies, website)

(Chubbies, email)
Chubbies put the logo in emails in the same place as on the website, used the same bold fonts — it all helps recipients to recognize them easier.
-
Building header
Header is the first thing your recipients see when opening an email. It normally contains a menu, a logo and sometimes contact information.
Quite often companies place additional information like “Free shipping” and “Date of issue” in the header. CNN, for instance, additionally puts the photo of the editor which makes it notable.
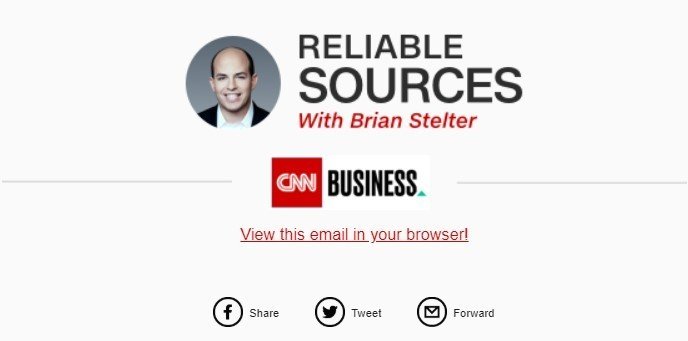
Once you’ve created the header you like — save it to your personal content library for future campaigns.

When building another newsletter — just pull it in a new template.
Currently, Stripo is one of the few editors that enable us to save and reuse email elements.
Though we said that headers remain the same from campaign to campaign, they do differ when it comes to holidays. Do not be afraid to decorate your footer and header for Thanksgiving or Christmas. Quite often, companies just “wear” a Santa’s hat over logo which is also great.
But I do love the way Brighton enlivens their newsletters for the Winter season.

(Brighton, regular newsletter)

(Brighton, the Christmas season)
-
Building banner
If the header is the face of your newsletters, then the banner is their heart. Banner’s main mission is to evoke emotions in recipients to make them keep reading.
On average, one spends 8 seconds on reading a B2C email. And if he or she doesn’t get impressed with what he or she sees, then this person moves the email to the Trash folder. Thus, when building a newsletter, remember to make banners as emotional as possible.
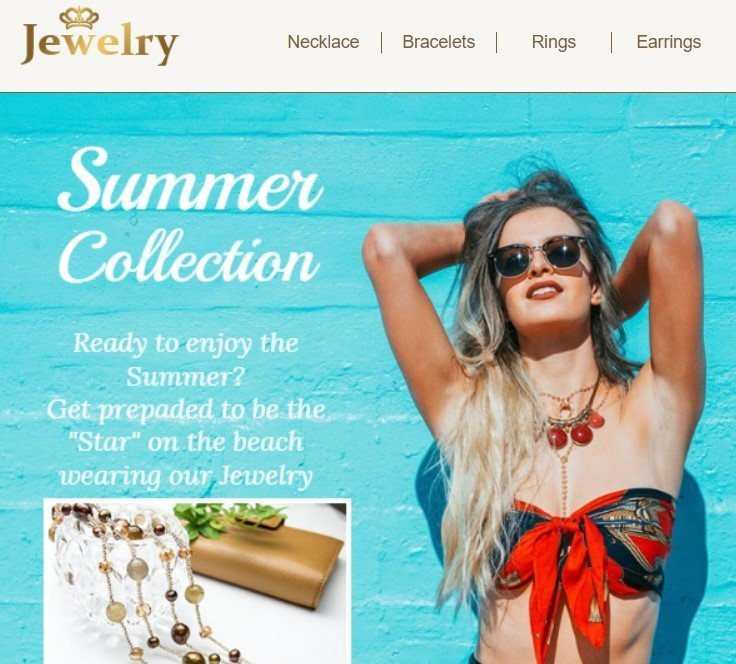
By placing a copy over the image, you reinforce the emotion you’ve appealed to. Feel free to apply any decorative font to the copy placed over a banner, as it will be considered an image element by all email clients, consequently, it will be not be replaced by a default one and the beauty of your email will be saved!
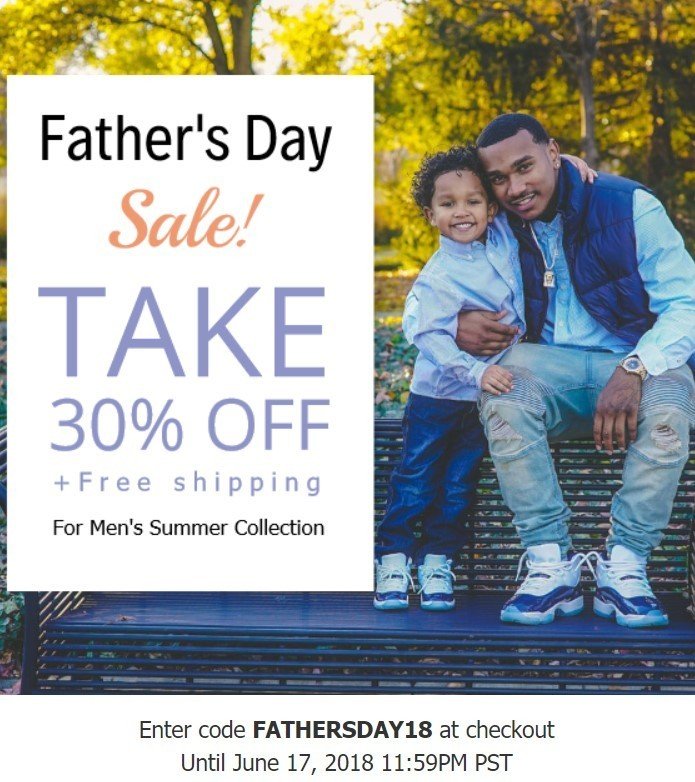
Also, you can insert additional images and frames to make your banner even more unique.
You can do it with any photo editor or implement right in Stripo.
Adding interactive elements
Adding interactivity in email is optional, but it helps to engage with customers and to keep up with the email design trends. Interactive emails drive twice as many conversions as emails with static content.
It will certainly help you to get ahead of your competitors.
The most popular interactive elements are:
- Image rollover effect — when placing a mouse over an image, it is replaced by another one. Works best for teaser campaigns. With Stripo, you can apply rollover effect to any images you add in your template.
- Image carousel — helps demonstrate a wide number of images in one screen. Normally used in promo campaigns to showcase a just launched product from all angles, to showcase its features or a few new products in the first screen. Use our prepared template to implement image slider in your campaigns. Replace images with yours — and the email is ready to go.
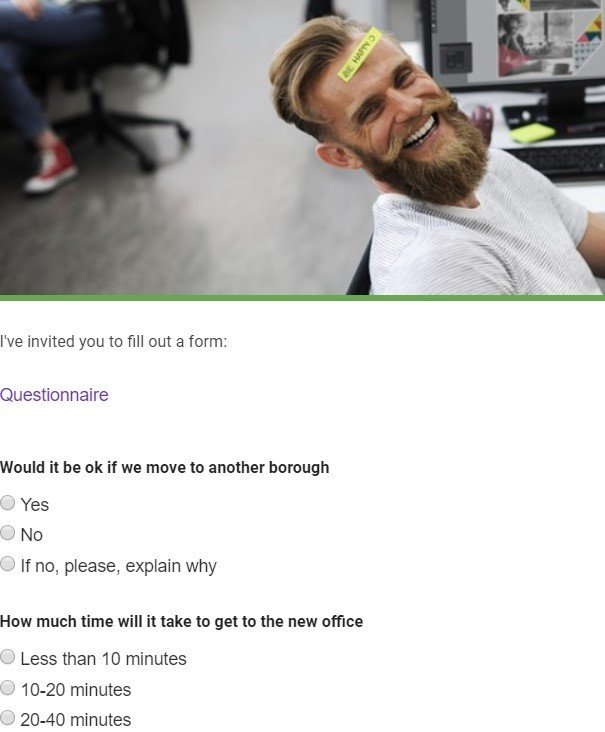
- Embedded surveys — knowing what your customers and clients think about your products and the service you provide is essential for your business growth. By embedding survey in emails you increase the chances respondents will take the former as such questionnaires can be submitted right in emails.
- Embedded videos — after watching a video, customers are 65% more likely to buy from you. The ability to watch videos directly in email is useful. The fewer moves it takes — the higher changes recipients will watch it.
Use this template to create an email newsletter with embedded videos. Just replace the links with appropriate ones.
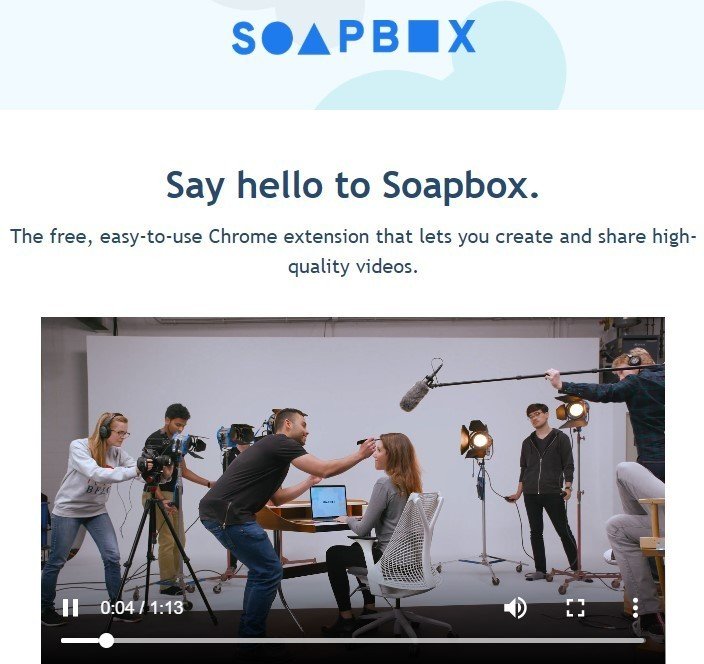
Note: embedded videos work in Apple Mail only, other recipients will see the link to Youtube or your website (where the video is hosted).
Building call-to-action button
No matter how beautiful your email design is, no matter how captivating the email copy is, you’ll lose potential customers if there is no call-to-action button in the message.
Make it bright, noticeable, insert engaging text.
There are two ways you design them with Stripo:
- The basic block “Button”
You drag this block into the template, set design preferences, add links.
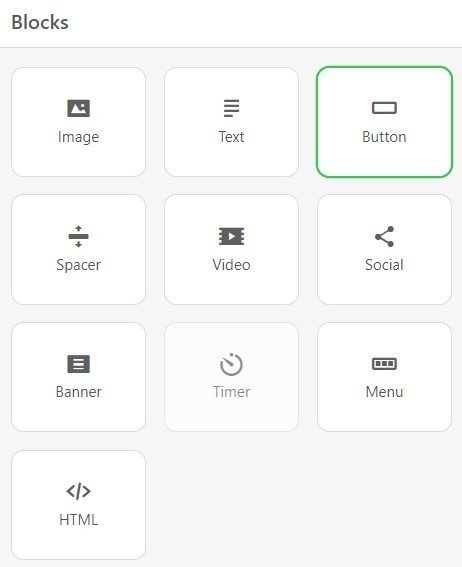
Find more information on email buttons in this post;
- Insert button image
You upload a previously designed photo, add links. Normally, brands come to this trick when making a festive email.
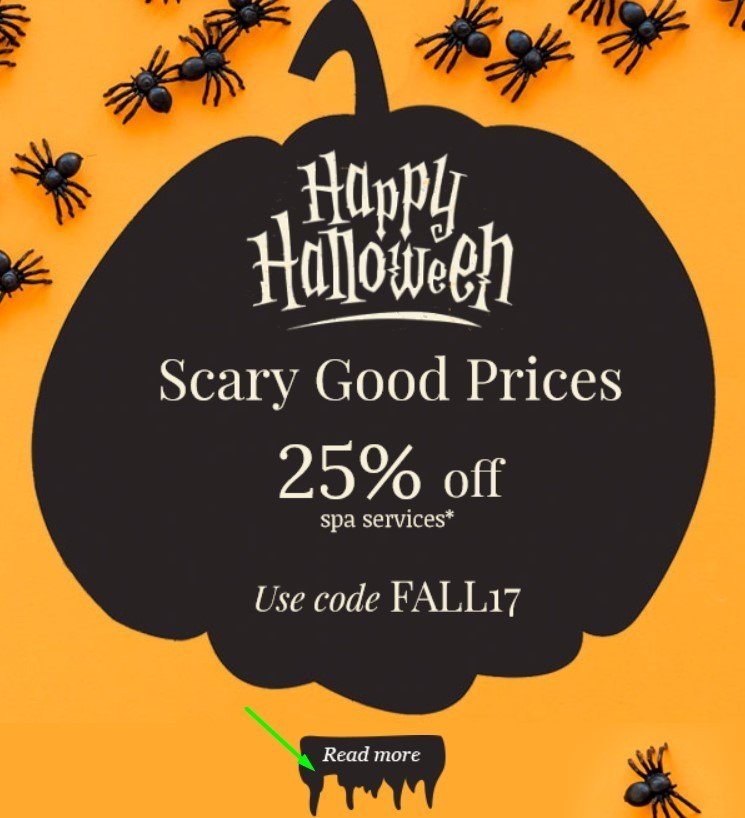
Adding email signature
Signature is critical both for individual letters and bulk emails. Add them, first of all, to remain polite. Second of all, e-signature contains tons of useful information.
The mandatory elements are:
- Name of the person in charge of the particular newsletter (it can be a team);
- Contact info, like website address, links social media channels, postal address, phone numbers;
- Work hours and a map for those who run offline stores, cafes, offices;
- It can comprise a photo of the CEO or a person in charge.
E-signature, also known as email footer, can be also saved to your personal library for further use.
Step 6. Explaining the reason why you've reached out to recipients and adding the unsubscribe link
In order to comply with the GDPR and CanSPAM, to stay polite and to leave a choice to your recipients, we are obliged to add the unsubscribe link to all our emails. Normally, it is placed in the footer of our emails. Make it noticeable.
Remember: only single opt-out allowed.
If you are afraid to lose customers, then add the "update preferences" link, too, to the footer along with the unsubscribe link. This will give recipients choice to whether leave your contact list or stay on touch but change the newsletter frequency for instance.

Also, we need to explain the reason why we reached out to our clients. As a rule, it goes above the unsubscribe link.
Step 7. Personalizing emails
Did you know that personalization in the subject line increases OR by 26%? Any modern ESP will enable you to add the recipient’s first or full name to the subject line. If you want to send a campaign from your own corporate email, most email drip campaign tools can send from whichever email you need on your behalf.
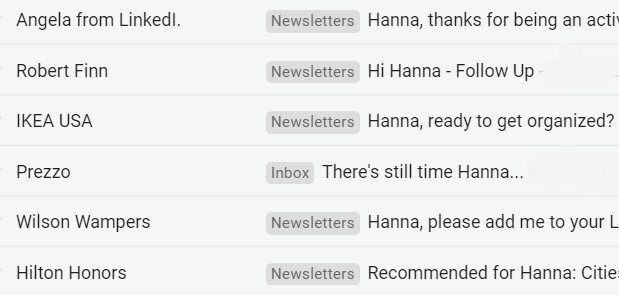
Personalized images increase CTR by 29%. And personalized offer improves CTOR on average by 14%.
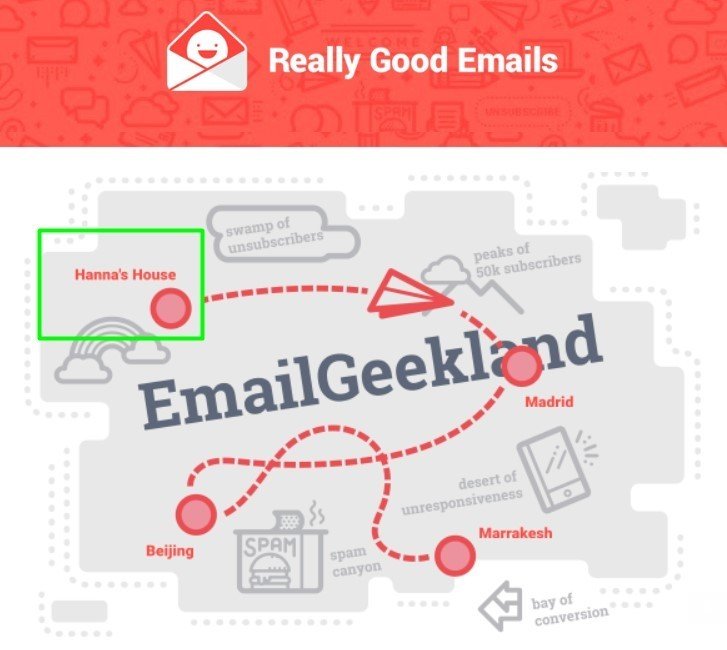
Step 8. Reviewing and previewing your email
Prior to sending newsletters out, you need to check if everything’s done properly. By using our brief checklist, you will check:
- The relevance of email content and of the subject line;
- Sender name and email;
- Preheader;
- The only goal for the entire campaign;
- Clear call-to-action;
- If there are elements that can be easily removed, yet your email will save its grace and consistency;
- Whether email elements comply with the brand-book;
- Links and their relevance;
- Contact information — if you have added phone numbers, website address, social networking icons, etc.;
- If it contains the name and position of the person who in charge of the campaign;
- The reason why you reached out to recipients;
- If the unsubscribe link is noticeable;
- If the email is personalized;
- If the offer is relevant to a particular segment;
- If you have set alt text to all images;
- If your email contains the web-version of the email.
How to get a link to the web version of email with Stripo:
- Click the “preview button” about the template you are working with;
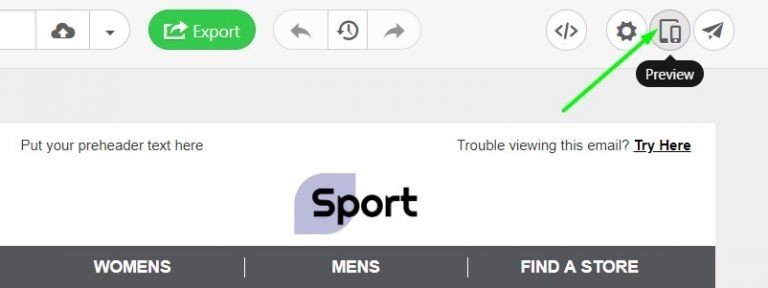
- Then either copy the link or click the “open in new tab” button to copy the link.
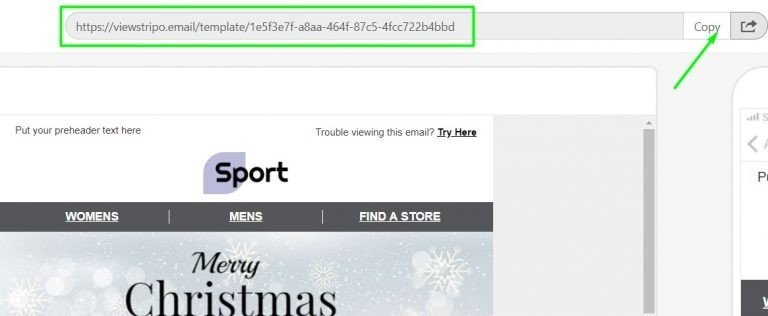
Step 9. Testing
Now that you’ve improved your email, test it with Litmus or Email on Acid to see what it looks like on recipients’ screens.
If you inserted interactive elements, you will need to test such email by sending and opening them on numerous devices in numerous email clients.
Step 10. Measuring
Measuring and analyzing major metrics is the key to improving all future campaigns. The ESP (CRM) you use will provide you with detailed reports on click-through rate,click-to-open rate, open rate, unsubscribe and spam complaint rate. I also love that eSputnik, for instance, provides email marketers with a map of clicks — it is important to know what elements your recipients loved the most.
With Google Analytics, you can also measure how many times a certain link was clicked during the email campaign.
Always analyze this data prior to making a new campaign.
Final thoughts
Follow these tips, love your audience, love the products or services you promote, use our free templates to save some time, implement your own ideas to make newsletters unique — we are convinced this will make your first email campaign successful.



0 comments